
How to Carve a Pumpkin: The Ultimate Guide to the Perfect Jack-o’-Lantern
Stop carving your pumpkins the hard way: 9 pro-tips for a professional-grade jack-o’-lantern that lasts all season
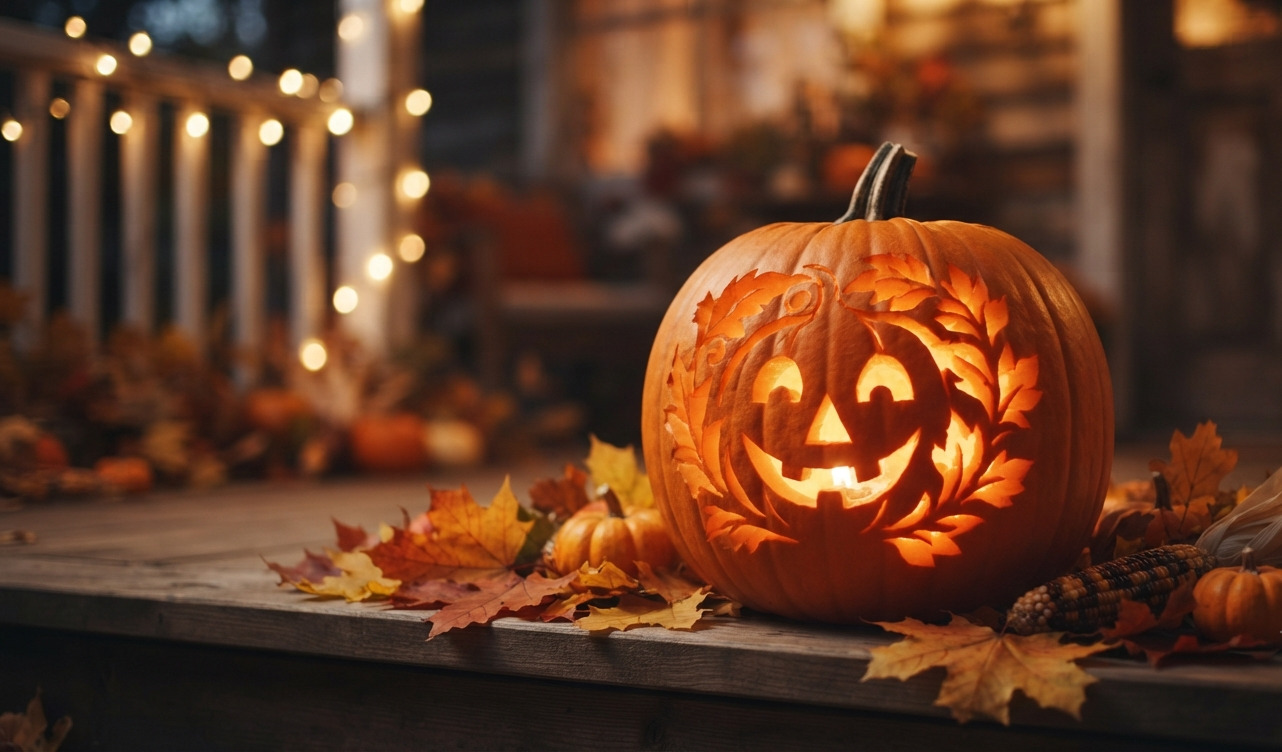
Something special happens in the neighborhood when the weather gets cool, the leaves crunch under your feet, and the porches light up with glowing orange pumpkins.
I remember my first pumpkin carving as a kid. I thought I was good at it, but after struggling for an hour with a crooked pumpkin, I ended up with a jack-o’-lantern that looked like a mess. My dad kindly called it “abstract.”
In reality, it was just a disaster. Over time, I’ve learned that making a great-looking pumpkin isn’t just about being skilled—it’s about knowing the right techniques. If you want to impress trick-or-treaters or enjoy a fun night of pumpkin carving, learning how to do it properly really matters.
The Secret History of the Jack-o’-Lantern
Before we carved pumpkins, our ancestors carved turnips and potatoes. When Irish immigrants came to the U.S. in the early 20th century, they found that pumpkins were easier to work with and looked better. We have been improving this craft ever since.
Your Professional Step-by-Step Guide to Pumpkin Carving
If you want to move from simple pumpkin designs to more professional-looking decorations, follow these steps.
1. Pick the Perfect Canvas
Look for a pumpkin that feels firm, has a sturdy stem (the handle!), and features a flat bottom so it doesn’t wobble while you work.
2. The Bottom-Cut Technique
Instead of cutting the top, try cutting a hole in the bottom of the pumpkin. This keeps the structural integrity of the top intact and prevents the sides from caving in later.
3. If You Must Cut the Top, Angle Your Blade
If you prefer the traditional top-cut, angle your knife inward toward the center of the pumpkin. This creates a “ledge” so your lid doesn’t fall inside once the pumpkin starts to soften.
4. The “Gutting” Phase
An ice cream scoop is your best friend here. Don’t just remove the seeds; scrape the inner wall of the face area until it’s about 1¼ inches thick. The thinner the wall, the easier it is to carve intricate designs.
5. Sketch First, Carve Later
Don’t freehand if you aren’t confident! Draw your design on paper, tape it to the pumpkin, and use a toothpick or a nail to poke small holes along your lines as a guide.
6. Lap Carving
Place the pumpkin in your lap. It’s easier to carve details when you can look directly into the “face” of the pumpkin. Use a small, serrated saw from a carving kit for the best control.
7. Start Big, Detail Later
Always carve the largest sections of your design first to avoid putting pressure on fragile, thin lines.
8. Get Creative with Scraps
Don’t toss those offcuts! Use them to carve a “tongue,” a pipe, or even tiny bat wings to pin onto your pumpkin.
9. The Moisture Hack
To keep your pumpkin fresh for days, rub petroleum jelly (Vaseline) on all the cut edges to seal in moisture. If it starts to look sad, give it a cold water bath for a few hours to rehydrate.
10. The Cinnamon Trick (The Pro Move)
This is my favorite secret: Sprinkle ground cinnamon inside the lid. When the heat from your candle rises, your jack-o’-lantern will smell like a freshly baked pumpkin pie. It’s a total sensory win.
How to Light Your Masterpiece
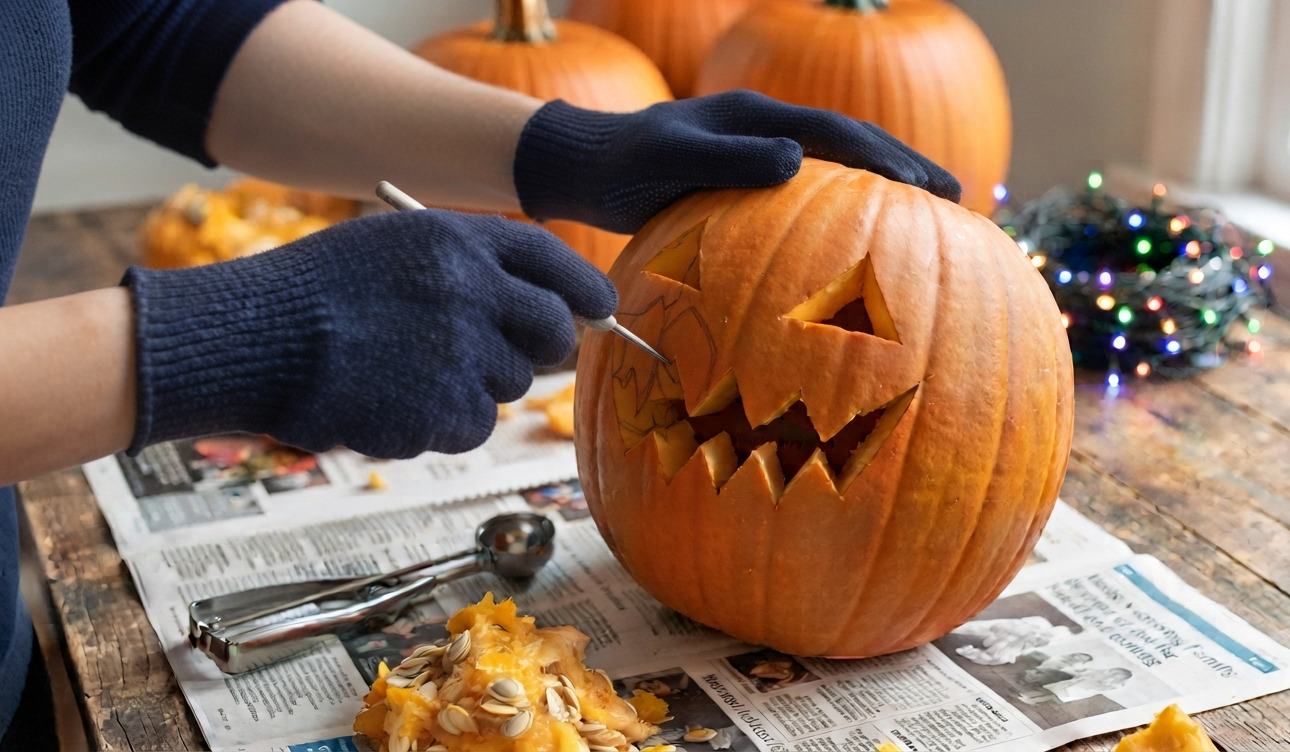
Skip the stress of matches. Use battery-operated LED votives to keep your design safe. If you want a truly haunting glow, use blinky multicolored Christmas lights!
Essential Toolkit Checklist
-
Serrated Utility Knife: For the heavy lifting.
-
Boning Knife: For precision lid angles.
-
Ice Cream Scoop: The ultimate gutting tool.
-
Petroleum Jelly: To keep your creation looking fresh.
-
Ground Cinnamon: For that autumn aroma.
Carving a pumpkin is a fun Halloween activity that brings families together. It can make your home stand out in the neighborhood. Get a pumpkin, play some spooky music, and start carving!
ALSO CHECKOUT: How to Get Rid of Gnats in Your House and Backyard: The Ultimate Guide
Frequently Asked Questions (FAQ) About Pumpkin Carving
Still have questions about your masterpiece? Here are answers to common pumpkin carving questions to help your pumpkin stand out this year.
Q: How long does a carved pumpkin usually last? A: A carved pumpkin usually lasts about 3 to 5 days. If you use petroleum jelly to seal it and keep it away from direct sunlight and heat, you can often make it last up to a week.
Q: Is it better to carve a pumpkin the day before Halloween? A: Yes! To ensure your jack-o’-lantern looks its absolute best on Halloween night, try to carve it no more than 24 to 48 hours before the big day. This minimizes the risk of rot or excessive shriveling.
Q: Can I use a regular kitchen knife for carving? A: You can, but a dedicated pumpkin carving kit (with small serrated saws) is much safer and more effective for intricate details. If you use a large kitchen knife, be extra careful—it’s easy for the blade to slip on the slick pumpkin skin. Always use a cut-resistant glove if you’re a beginner.
Q: What do I do if my pumpkin starts to mold? A: If you notice mold, you can clean it by using a diluted bleach solution, which is one part bleach to ten parts water. This will kill the mold and bacteria. Make sure to let it dry completely before you light your candle again!
Q: Why does my pumpkin lid keep falling inside? A: This problem usually occurs when the sides are cut straight up and down. Next time, try cutting at a 45-degree angle toward the center of the pumpkin. You can also avoid this issue by using the bottom-cut method (Step 2 in our guide).
What’s your favorite jack-o’-lantern design? Let us know in the comments below!